Today I have as a (first) guest post on my blog the lovely Amy Cornwell.
She makes beautiful jewelry that you can wear and treasure for a life time.
Hi there! My name is Amy and I have a shop and blog
here. I’d love for you to stop by and see the jewelry I make and all of the different things I blog about that are my passions!
Today I want to share a tutorial with you on a great way to memorialise your beach vacation. Here’s what we’re going to make:
When we were in Mexico in January we found a TON of sea glass and some cool shells for the kids. I also found a shell with a hole in it that I knew would be a great pendant.
Then I got to thinking, what better way to remember your beach trip then by being able to wear it every day?
Don’t think of the gaudy shell necklaces that you find at the tourist shops; you can make this completely your style because you’re the one picking the shells & glass and wire wrapping it. Want to learn how to make one yourself?
You’ll be done in 10 minutes or less – let’s get started!
Shell Pendant
You need a few feet of 24ga wire (I use sterling), jump ring, shell with a hole and pliers.
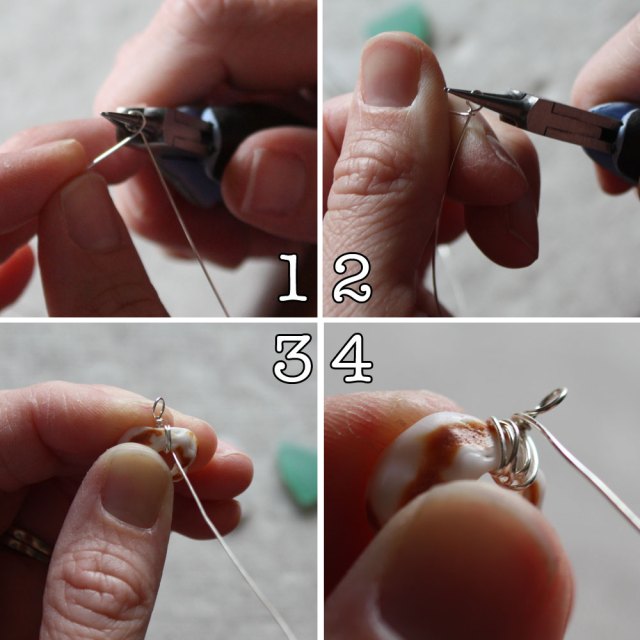
1. Start a wrapped loop at the end of your wire with about 2″ excess at the end.
2. Finish wrapping the excess around the long end of the wire.
3. Take your loop and put it behind your shell, then wrap the long end of the wire through the hole as many times as you want. I did mine three times on each side.
4. When you’ve finished wrapping through the hole, wrap the end a few times again around the loop, securing it. Cut the excess wire and attach a jump ring and you’re finished!
Sea glass Pendant
1. Make the same wrapped loop around a piece of wire.
2. Put the loop and the wire behind the glass.
3. Wrap it in any direction you want. For the white glass, I did one vertical and two horizontal wraps. The last step is to wrap the end of the wire again around the loop and attaching a jump ring.
4. For the turquoise glass I just did two wraps since it was more of a triangle. You can wrap it as much as you want (or as little, as long as you do enough to make it secure). Then you can layer the pendants or wear them alone! (shown before I added the jump rings)
Attach a freshwater pearl to remind you even more of the ocean.
These would also make great, inexpensive gifts for your friends…all you have to do is take some time to find the perfect pieces of glass or shell and take a few minutes to wrap them.
An easy, quick and inexpensive gift that is heart-felt and special.
I love that I’ll always think of our anniversary trip to Mexico when I wear one of these pendants.
Here are some of Amy’s jewelry that I love(and have on my wish list- hint to my hubby- )She has them for sale in her
on-line store:
So go over her store and take a look and make sure you follow her
blog because you are in for some good deals:) She has Freebie Fridays ,were you can get something for free from her shop when you spend 50$ and easy tutorials like this one where you can learn how to make your own lovely memories to keep.
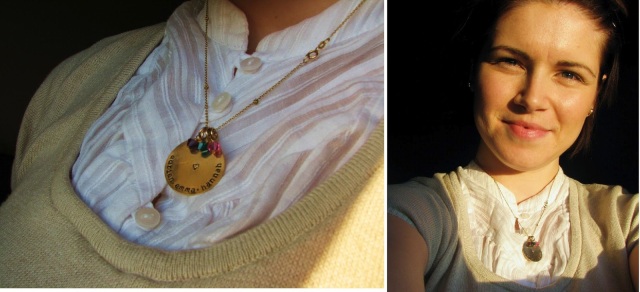
I got this custom made gold medallion with my husband and girls name on it for my birthday that I wear all the time.
I’m in love with it!
I love jewelry that has a meaning to it,a memory of something or some one that you love.
Thank you Amy!:)


